|
|
Sometimes you have you add basic data in XML files and add these files to your Windows 8 Store application as a resource. You want to read the contents of the XML file to display these data in application pages. In this article we will create a Windows Store App that will read XML data from an XML file that is added to the application package.
Create a Blank Windows Store App
1. Open Visual Studio 2012 Express for Windows 8.
2. Click on New Project. The New Project Dialog box appears.
3. From the left pane select C# and then Windows Store Templates.
4. From the right pane select Blank App (XAML).
5. Type your project name and then click Ok. We set the project name to ReadXmlApp.

Add Xml file and fill it with data
1. Right click on the ReadXmlApp in the Solution Explorer and select Add then New Item. The Add New Item Dialog appears.
2. From the left pane select C# and then Data.
3. From the right pane select XML file and type BasicData.xml in the Name field.
4. Then Click Add button to add the xml file to the project.
5. Add the following xml to the BasicData.xml.
<?xml version="1.0" encoding="utf-8" ?>
<Orders>
<Order>
<OrderId>1001</OrderId>
<OrderTotal>5000</OrderTotal>
<Customer>Muhammad</Customer>
<Phone>0123456789</Phone>
</Order>
<Order>
<OrderId>1011</OrderId>
<OrderTotal>5000</OrderTotal>
<Customer>Jone</Customer>
<Phone>0123466789</Phone>
</Order>
<Order>
<OrderId>1023</OrderId>
<OrderTotal>5000</OrderTotal>
<Customer>Fouad</Customer>
<Phone>01244456789</Phone>
</Order>
<Order>
<OrderId>1034</OrderId>
<OrderTotal>5000</OrderTotal>
<Customer>Ahmad</Customer>
<Phone>0123456781</Phone>
</Order>
</Orders>
Create the UI and adding Xaml Code
1. Open the MainPage.xaml file by double clicking the MainPage.xaml file from the Solution Explorer.
2. Select the XAML view and find the Grid Control in the MainPage.xaml.
3. Add the following code to the Grid in the MainPage.xaml.
<Grid Background="{StaticResourceApplicationPageBackgroundThemeBrush}">
<Grid.RowDefinitions>
<RowDefinition Height="1*"/>
<RowDefinition Height="8*"/>
</Grid.RowDefinitions>
<Grid.ColumnDefinitions>
<ColumnDefinition Width="1*"/>
<ColumnDefinition Width="3*"/>
</Grid.ColumnDefinitions>
<Button Name="LoadXmlButton"Content="Load Xml" FontSize="20"Grid.Row="0" Grid.Column="1" Click="LoadXmlButton_Click"/>
<TextBlock Name="XmlTextBlock"Grid.Row="1" Grid.Column="1"/>
</Grid>
a. The above XAML code creates a Grid control with two columns and two rows.
b. Adds a Button and name it LoadXmlButton, set the LoadXmlButton font size to 20.
c. It places the LoadXmlButton in first row using Grid.Rowattached property and second column using Grid.Columnattached property.
d. Add a TextBlock control and name it XmlTextBlock.
e. It places the XmlTextBlock in second row using Grid.Rowattached property and second column using Grid.Columnattached property.
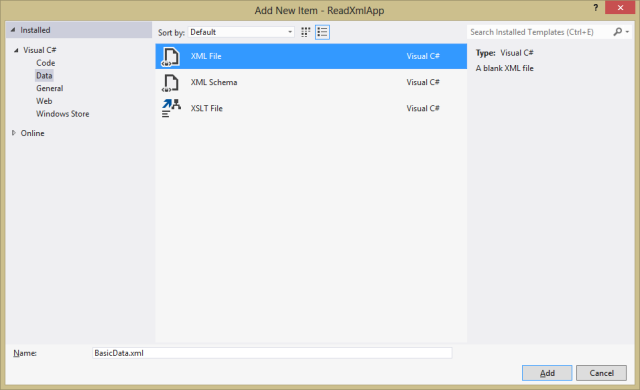
4. Switch to the Design View and you will see something like the following image:
Adding C# Code and reading XML file content
1. Double click the LoadXmlButton, this will create the click event handler for the LoadXmlButton.
2. Add the following using statements to the start of the code behind file
using Windows.Storage;
using Windows.ApplicationModel;
3. Windows.Storage namespace manages files, folders, and application settings.
4. Windows.ApplicationModel namespace provides an app with access to core system functionality and run-time information about its app package.
5. Mark the LoadXmlButton_Click method as asynchronous using the async keyword.
6. Add the following code to the LoadXmlButton_Click method
private async void LoadXmlButton_Click(object sender, RoutedEventArgse)
{
try
{
StorageFolder storageFolder =Package.Current.InstalledLocation;
StorageFile storageFile = awaitstorageFolder.GetFileAsync("BasicData.xml");
XmlTextBlock.Text = await FileIO.ReadTextAsync(storageFile, Windows.Storage.Streams.UnicodeEncoding.Utf8);
}
catch (Exception ex)
{
XmlTextBlock.Text = ex.Message;
}
}
a. The above code creates an object from the StorageFolderclass, which manipulates folders and their contents, and provides information about them.
b. Sets the storageFile object to the current installation folder of our application.
c. Creates an object from the StorageFile class, which represents a file. Provides information about the file and its content, and ways to manipulate them.
d. We then get our XML file from the storage folder by calling the asynchronous method GetFileAsync and passing it the file name.
e. We then use the FileIO.ReadTextAsync asynchronous method to read the contents of the file with the UTF-8 encoding and assign the returned text to the Text property of the XmlTextBlock.
f. If there is any exception it will display it in theXmlTextBlock.
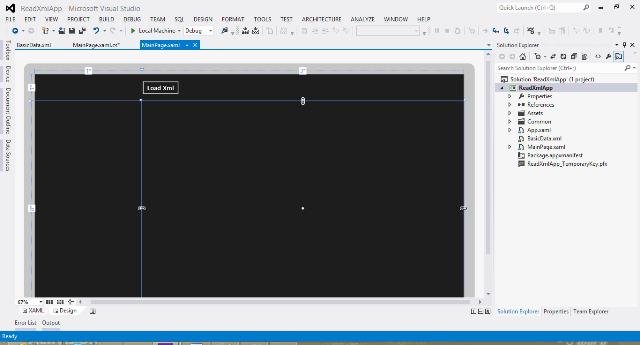
7. Build your application and run it in the Simulator. You will find something similar to the following image
8. Click on the Load Xml Button. This will load the XML from the BasicData.xml file and display it on the TextBlock.

Now you have a Windows Store Application that read XML data from an XML file that is added to the application package and display it in a TextBlock.
http://www.makhaly.net/Blog/27
xml 파일을 읽어서 해당 태그를 찾아내게 변경하였습니다.
protected async override void OnNavigatedTo(NavigationEventArgs e)
{
try
{
StorageFolder storageFolder = Package.Current.InstalledLocation;
StorageFile storageFile = await storageFolder.GetFileAsync("BasicData.xml");
var stream = await storageFile.OpenAsync(FileAccessMode.Read);
XmlDocument xmlDoc = await XmlDocument.LoadFromFileAsync(storageFile);
XDocument doc = XDocument.Parse(xmlDoc.GetXml());
var description = from projects in doc.Descendants("OrderId")
select projects.Value;
List<string> descriptionList = description.ToList<string>();
}
catch (Exception ex)
{
XmlTextBlock.Text = ex.Message;
}
}
참고사이트 :
http://www.c-sharpcorner.com/UploadFile/99bb20/temporary-application-data-storage-in-windows-8-apps-using-c/
http://visualstudiomagazine.com/articles/2012/02/14/building-a-windows-8-metro-app-part-3.aspx
|
|